So, I have been experimenting with some lighting stuff to take better pictures of my food. (See also recent post where I am gonna need to take pictures for my perhaps e-book cookbook I mostly wrote and now need to field test and take pictures of.)
So, I read a bunch of things and watched some videos online and set up to practice some things today in my kitchen. I did not want to buy any fancy lighting equipment yet, but my husband had some clamp work lights, so he gave me one of those. I started with a 60 watt clear regular lightbulb, set at a few feet away, about 120 degrees off set from my camera, using the food as the center of a circle. Actually, I guess that's negative 120 degrees. Math is slowly coming back to me. So, I tried that.
 |
| -120 degree light offset, 60watt clear |
It was just a regular lightbulb. You can put flood light bulbs in the work clamp lights, but man, those are BRIGHT. So anyway, you can see a lot of shadow on the right side (light was on the left).
OK, take two, I set up a white reflected card (which was actually a white piece of funny foam stuff from Joann's, since that was like a dollar and buying actual photographic white card seemed like it might be expensive.) I set that up between 90 and 120 degrees positive. (So basically the other side of the food).
 |
| same as above, plus a white reflector card |
White reflects a lot of light back, and everything looks more bright with the shadows on the right side. Kinda nice. I did try one more thing.
 |
| Used my mac laptop as a brushed silver reflector card |
So yeah, I propped up my laptop as a reflector card. Brushed silver is apparently thing. I actually like it the best. I suspect because it was more shiny and thus more reflective than the foam, which is pretty much matte. Really, though, all if it seems a little bit too high contrast for me. So I decided to lower the wattage of the light bulb and switched to a ceiling fan 40 watt bulb.
I also switched everything around, because I think the peppers are naturally too shiny, and I was trying to get a handle on this diffuse light thing.
 |
| 40 watts, no reflector card |
 |
| 40 watts, back to the white foam |
 |
| I used a white melamine tray instead of the foam |
I think I like the melamine tray the best for my faux reflector card. I was really pretty happy with how that one turned out. It's kinda glowy or something.
Here's some shots I took with my iPhone of the setup for taking these pictures. They are not great because it was kind of hard to figure out what to take of, but maybe they will be illustrative.
 |
| top view, pretend the white card was held up by something |
 |
| Side view, continue to assume that card is being held up |
 |
| super closeup. ignore my dishes, ok? thanks |
I started to put everything away, but I realized that a lemon was not all that exciting and that I had some other food I could play with. (Yay playing with one's food!)
 |
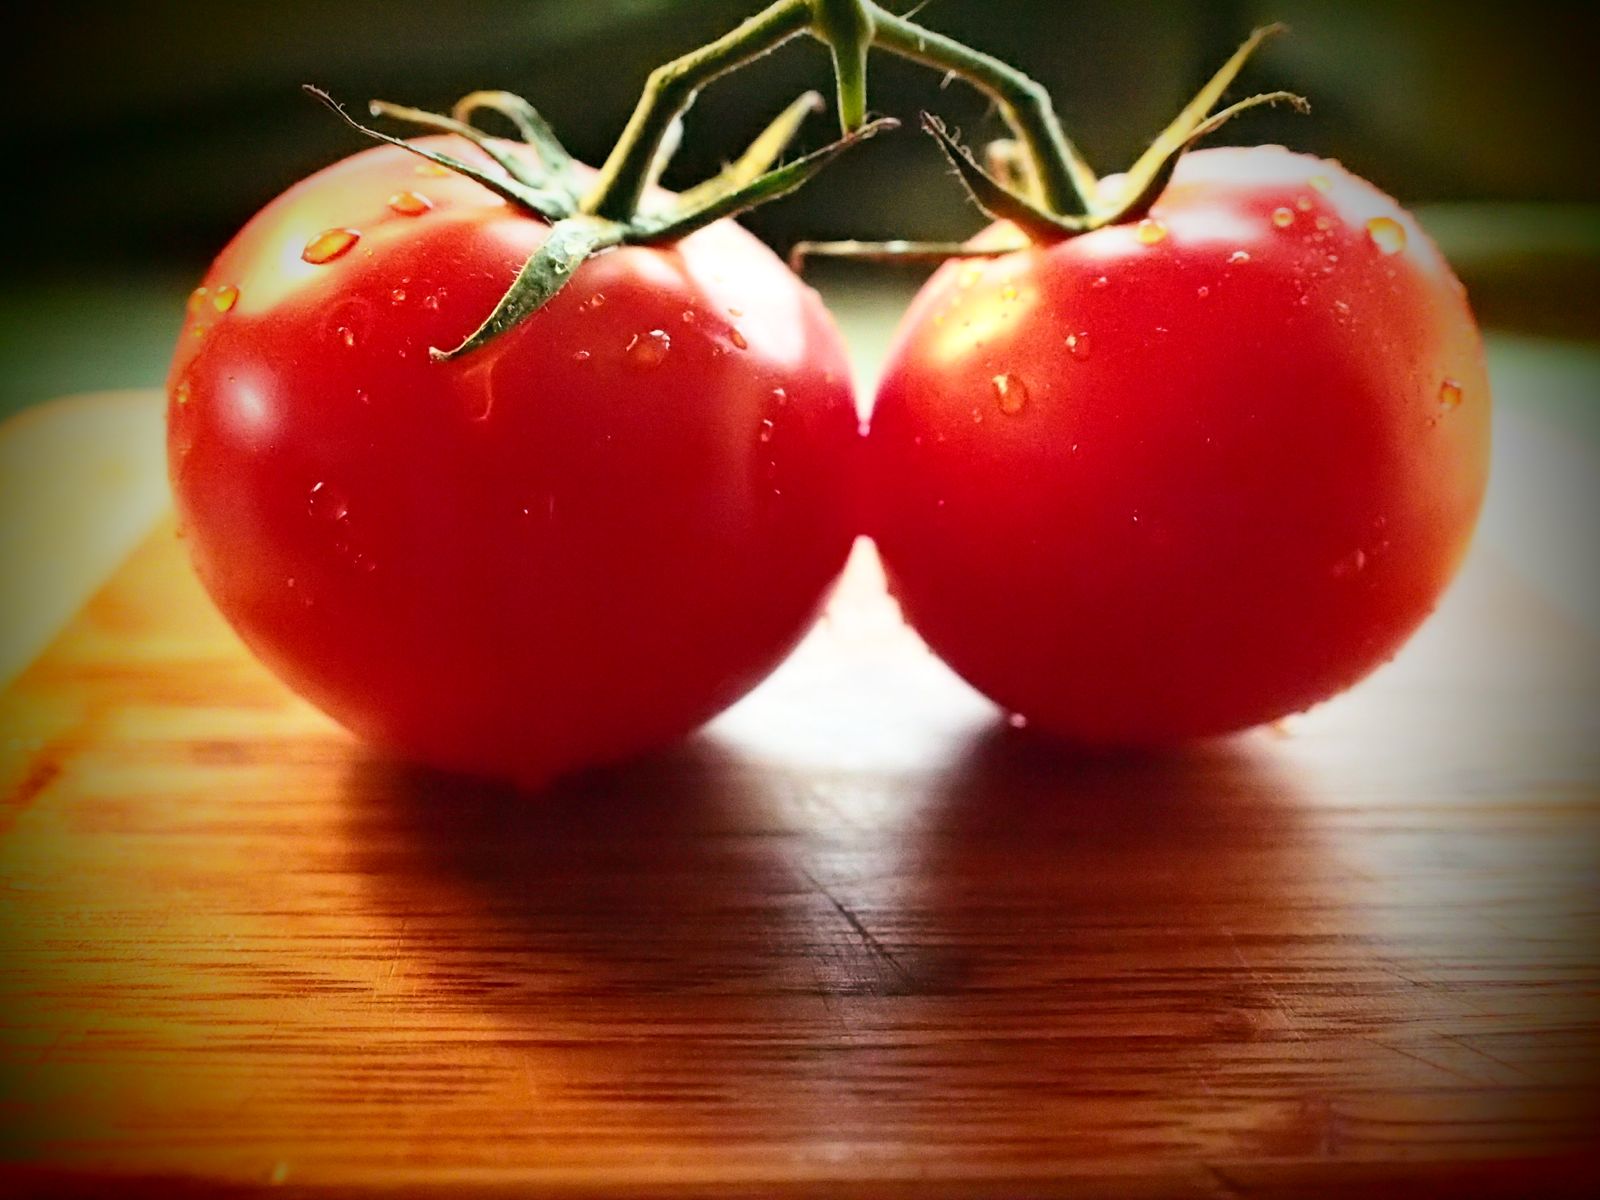
| same setup, with tomatoes |
I oiled my poor, unloved, bamboo cutting board to make it prettier. (Don't neglect your cutting boards, folks, mine is split and sad.) I rinsed off the tomatoes because ... I don't know exactly; I think I always rinse off food when I am about to use it. I really liked this one a lot. Still glowy, nice water drops. It's not perfect food photos, but I thought it was pretty nice for basically being homework.
 |
| More food, un-oiled cutting board |
I broke out my bigger cutting board and was too lazy to oil it, but I added some other foods to make a sort of scene out of it. I really nee to work on aperture and focus but I thought this was pretty OK.
A few things:
- The differences are both subtle and dramatic with the reflector card, but you don't have to have anything fancy, so that's nice. I used a plate stand from my china and some white stuff I had around. The white card was really RIGHT up close to the right hand side of the food, though. Basically barely out of the shot.
- I had much better results when I started putting my camera right up next to the food. Because I have such a short lens, that means super close. If you have a longer lens, you might be able to be further away.
- These are the five or ten good shots out of maybe 50 or 60 total. Digital photography means volume is your friend! So wiggle around a little and stuff, until you get something you like, and throw the rest of what you don't like away.
- These are all straight out of the camera, no editing, no color correcting, using my camera's incandescent white balance. So nothing fancy and no post processing, which would probably help a bunch of them. Still, it shows what the different lights and stuff do.
- I have windows in my kitchen, so there was ambient/extra light in the room.
- I have a semi-fancy interchangeable lens camera. (Olympus Pen E-p3). Not a DSLR but still pretty nice. I am somewhat convinced, though, that you can get pretty good results with good lighting and a point and shoot, so that's something to think about. Case in point, I took this picture with the same lighting setup with the lemon. Not great, but not totally terrible. I probably needed more overall light with this.
 |
| not awful for an iPhone |
I don't want to end my post with that, so here is that pretty tomato picture again.
|
| pretty tomatoes! |


0 comments:
Post a Comment